The ultimate goal of 3d renderings is to create realistic digital images, and animations to present an idea in a more effective way before people. So our topic is “How to create realistic 3d render”. Ever thought what would be the secrets behind making an ideal 3d render? What would be the steps to create an immersive three-dimensional scene? In this blog, you will know all the important steps followed in designing a stunning 3d render. Read steps to know “How to create realistic 3d render”.
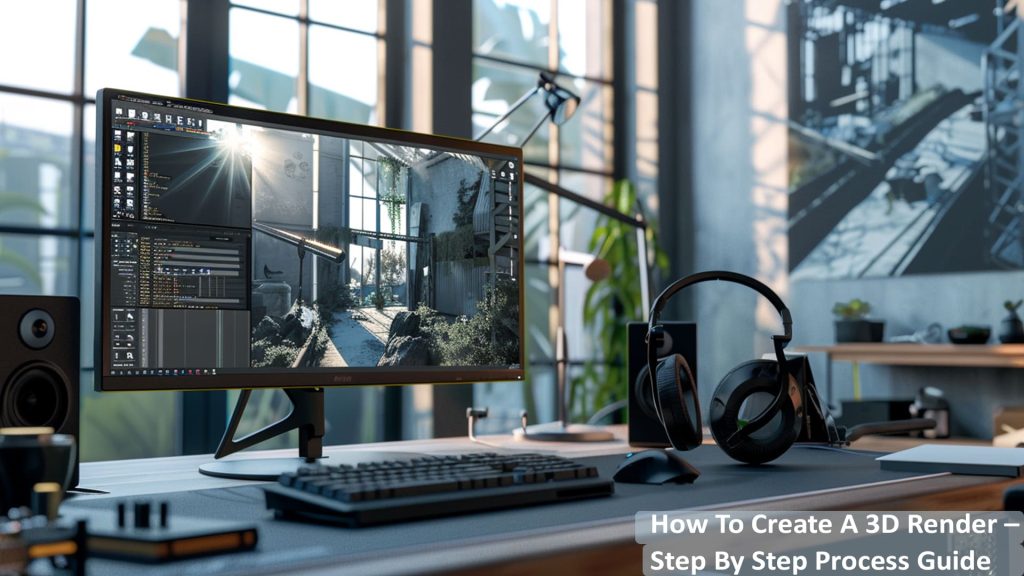
How To Create a 3D Render – Step By Step Process Guide
Following are the steps for how to create or make a 3d render.
1. What is the Project Vision and Its Requirements? – A 3d render artist should have a clear understanding of the project vision and the requirements of his clients. They held consultations to know the company, its users/ audience, and the rendering purpose. Clients are allowed to openly share their ideas and desired appearance, as a render specialist, you need to be honest about the possibilities of the idea and dictate it in the right way without demotivating your dreams. All in All, the basic step in rendering is to know the objective of rendering a design and what outputs your client is expecting. A wise designer always makes clear notes and rough drafts while the conversation goes on. The final decision should satisfy both the parties.
2. 3D Rendering Project Analyzation and Planning – Once project necessities are finalized, the analysis and planning begin. All the notes and briefings taken during the consultation and project vision conversations are observed to plan the workflow. This step includes making rough drafts using compatible 3d rendering software until the final sketch. Along with this, the final project features, texture, elements, color, material, camera angles, environment, lens effects and much more to make a 3d visual as real as possible. This step can be daunting because you may have to design and experiment with various sketches with unique lighting, angles, and atmospheric and environmental effects.
3. 3D Modeling of Objects, Surfaces etc – Here comes the important rendering step where your patience, creativity, devotion and attention to detail are tested. 3d objects are created here with vertices and primitives. The geometry and the shapes are carefully designed to make an ideal object representation. Firstly, the 3d outline is created of the object followed by giving life to its surface by manipulating textures, colors, shadows, and lights. Once you get a near about end product, it becomes easy to further modify it.
4. Material Selection and Texture – After modeling, it’s time to put life into 3d representations and the best way to do this is by comparing 3d objects to the items present in the real world. Choosing the natural material, and similar texture (or even close to it) will provide each item a real look. For instance, if you are designing a kitchen worktop made of granite, observe the real granite; its texture, how light interacts with it, how kitchen goods look when placed over it etc. 3D render artists give either a glossy, neutral or matte look to form a realistic 3d visualization.
5. Adding Sophisticated Lighting, Reflection & Shadows – After 3d object modeling, every step tests your expertise, and the skills to make the 3d visualization look natural, engaging and quality-driven. It demands your focus, and observation of how light works with different elements. You need to choose the right artificial light location to highlight the model detailing, and play with different shadows, colors, filters, and contrast to meet the most realistic visual. Your focus should be to make it as tempting as a real photograph.
6. Implement the Proper Project Rendering – Once you are contented with the 3d objects detailing, it is time to render your project. Here, using the right rendering techniques plays an important role in developing a visualization that meets the project vision and client needs. The rendering process can be time-consuming depending on inculcating details. The 3d visuals are sculpted to the point to make the modeling form sensible to the maximum.
7. Taking Feedback and Doing Necessary Changes – It’s time to review your 3d render along with the customers. Feedback is collected to ensure that the rendered design is ready for the final delivery. You should be ready to modify the 3d models to your client’s demands (without disturbing the project’s practicality). Remember to carefully listen to and understand what your prospect wants, you should work by staying calm & composed to meet their suggestions.
A Warm-Up for 3d render design!
Apart from how to make renders steps mentioned earlier, we would like to educate you on other important things that will work as a warm-up for your next 3d visualization project. By keeping these two factors in mind, you can design better models with a smooth flow.
- The motive of Photorealistic Rendering – Since 3d rendering is widely used in various industries including filming, gaming, entertainment, marketing, architecture, construction, and design, you should know which industry is contacting you to provide a render. The course of designing a photorealistic image can entirely shift depending on the industry only. For example, if 3d modeling is needed for gaming, you need to focus more on surroundings and environment details, so that the player can actually look interactive on the scene. However, for architectural 3d renderings, visualization becomes more clean, defined and naturalistic; the focus here is to create great quality renders with the right composition.
- Using the Compatible Rendering Software – The second important thing is finding the right rendering tools. A professional render artist will know the software in the market and their primary specialities. Find the 3d visualization tool that meets your project objective, and offers the features you need to incorporate into the vision.
The Conclusion
So now you know “How to create a realistic 3d render”. High-quality 3d rendering creation requires skills, experience and knowledge. When these important rendering steps are synced with the right 3d visualization tools then the 3d artists make the most out of a formation. With the growing technology and the demand for animations; it is predictable that 3d rendering will make more impact than ever. By practising these useful steps to create a 3d render, you can surely contribute to the best rendering projects. Renderspoint is a leading company that creates renders with the finest degrees. Are you looking for the best render artists? We deliver projects globally. Feel free to contact us.


